Maximize Your Image Reach on Facebook // Social Media

How to Maximize Your Image's Reach on Facebook

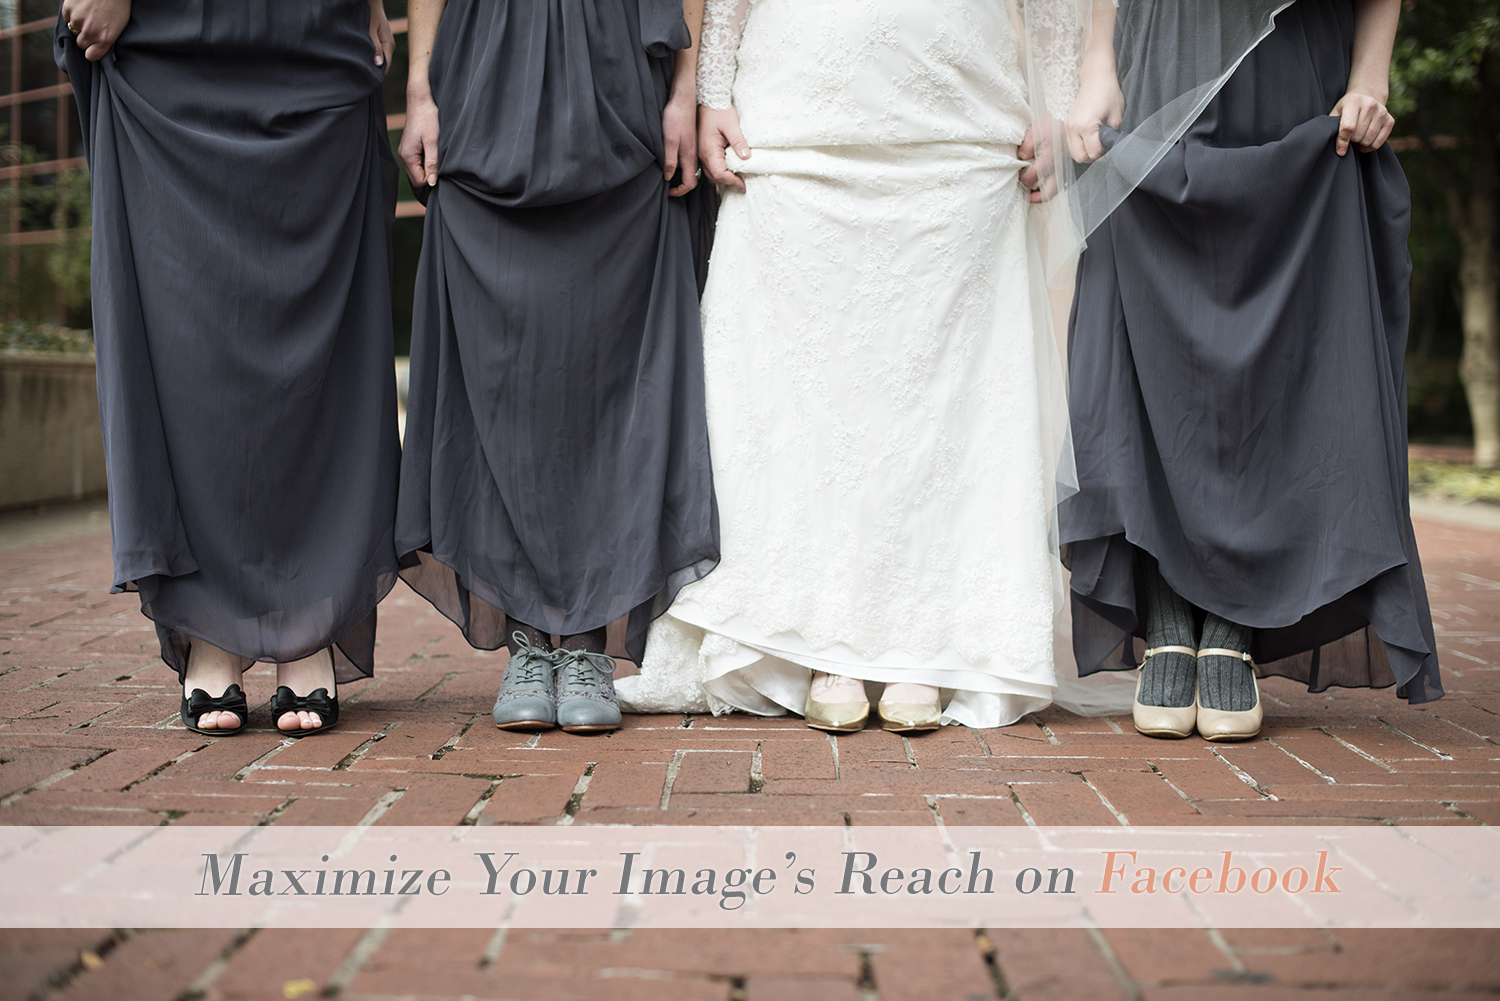
I wrote in one of my first social media blogs about how you can increase your Facebook reach by sharing a link instead of an image. Sometimes, though, we don't have the option to share a link. And we can always gain an advantage by tagging anyone who appears in our images (especially as wedding vendors!). So how can you make the most of the images that you post?

Most business owners know that an image cannot be used in advertising if it is covered with more than 20% text. There is actually a helpful tool Facebook provides that will show you instantly whether or not your image will be approved for promotion. Since their definition of what that looks like may be different than yours or mine (it's based on how many blocks the text appears on in the image), it's always a good idea to check any images with text overlays ahead of time.

However, a somewhat recent change with Facebook ensures that no image with a large amount of text - whether it's promoted or not - will be successful. The problem Facebook was running into is the presence of what they define as 'low quality' content. This includes content called click bait (eg. an article that says "You won't BELIEVE what Jennifer Lopez does with her children!") and memes.

Yes, memes. Everyone loves a good meme - they're relatable, ridiculous, and help break up the news feed with something fun. However, Facebook has decided through their own terms that memes are not high quality content, and people don't enjoy them as much as they think they do. For that reason, ANY images with a lot of text on them will be classified as a meme.  Though they don't technically violate any terms, their reach will plummet. You can read a helpful article about it here.

The takeaway from this blog is to keep large text OFF your images! Use the Facebook grid tool even when you aren't promoting a post to ensure it's not covered in too much text and your reach will grow noticeably.

Let me know what's worked for you and what hasn't! And if you have any questions, feel free to ask :)

Click here for more social media tips!

Toggl Time Tracker // Business

Now that I'm (mostly) working from home during the week, a lot has changed in regards to my schedule. I'm still trying to figure out how to best use my time, what hours to work, and how to have freedom while still running my business effectively. I don't want to be so free with my schedule that I don't put in hard work every single day, but I need to remember that there ARE benefits to being your own boss, and working from home - and it's ok to take advantage of those once in awhile.

One thing I've wanted to do for awhile is track my time. I have rough estimates about how long I spend on my business, but I've never broken down before how many hours I put into social media, or blogging, or bookkeeping, vs shooting a wedding or family session and editing it. When I went part time, I looked for a way to not just keep track of how many hours I work, but what I do when I jump on the computer every day.

Enter: Toggl Time Tracker! This little tool is probably the biggest boost to my productivity out of anything else I'm doing. Not only is there an app, but there's a desktop version as well. I use this all day...so let me explain.

Each day as I begin work, I start the time tracking. Sometimes I don't even know what I'll be working on, but I just hit the little green button to go. Then, as I work on a project in particular, I'll add that to the description. At the end of the week (or month), I can pull up a report straight from the app showing how much time I spent on what task. It's given me a great picture of how to run my business, and has cut back on any wasted time. The desktop and app versions are completely synced, so whether I'm at home or on the road, I'll never lose a minute.

Not only that, but it's kept me on track. I'm a born multi-tasker, so it's easy for me to float from one task to the other. I hate tackling big projects that I know I can't get done in a day, so I'll often procrastinate and, when I do sit down to work on it, end up doing something entirely different. Having that little timer running keeps me on track, because if I end up working on something else, I have to categorize it as such. And if I'm spinning my wheels and not really getting work accomplished, I can just quickly move on.

If you are a small business owner, or if you work from home, or even if you just want to see how you spend your week, you should without a doubt start tracking your time. It'll surprise and amaze you to know what you're doing, and how much more work you could be getting done if you spend focused time working on things, instead of jumping from one task to the next.

I hope this helps your productivity and sanity as much as it has helped mine!

Click here to see more posts about Small Businesses & Photography!

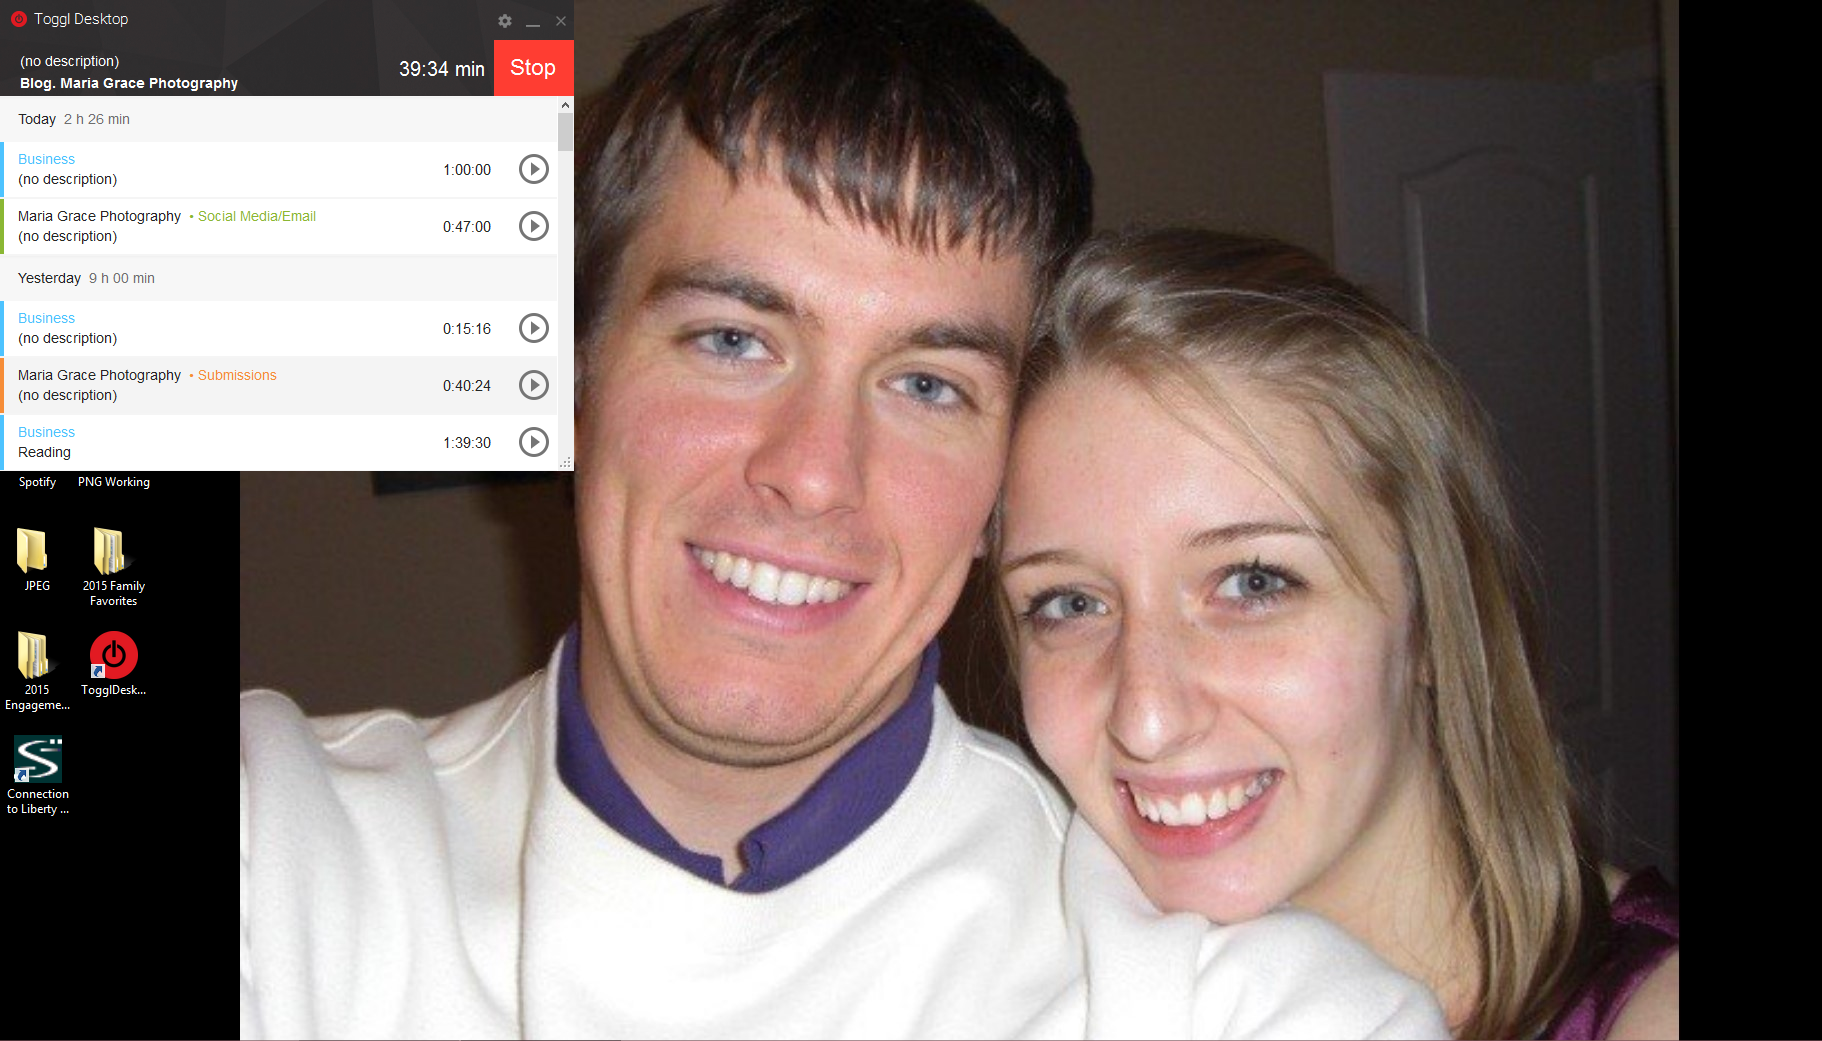
Here's what it looks like on my Desktop!

Here's what it looks like on my Desktop!

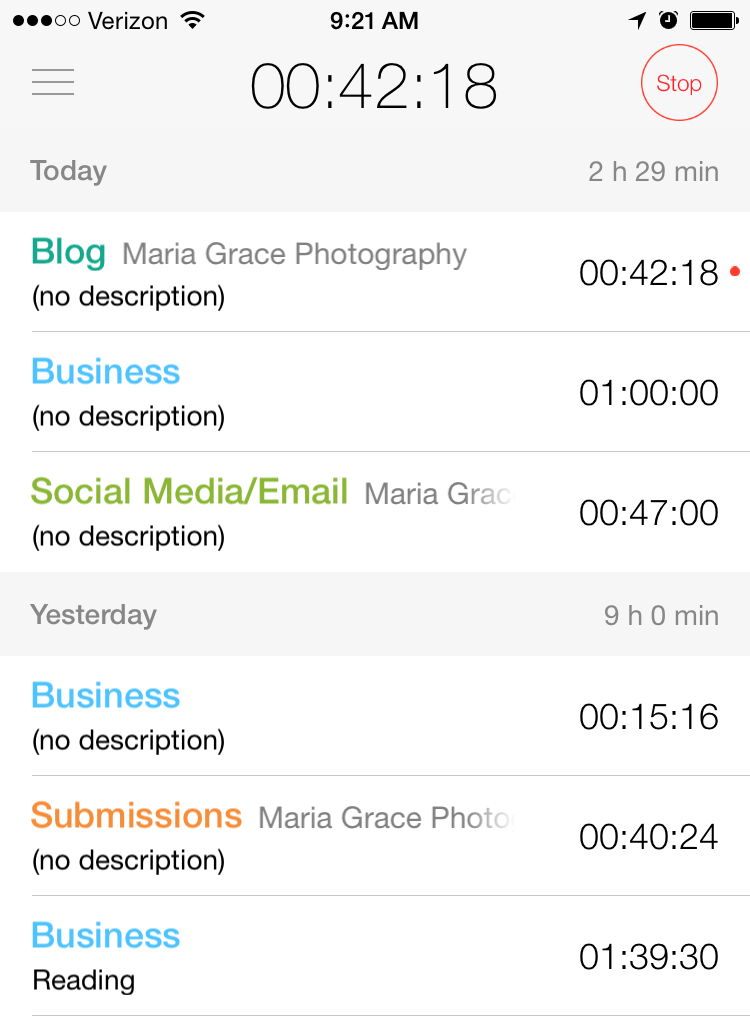
If I'm running this on my desktop, the app will automatically pick up the timer where I left off, without any manual synching required

If I'm running this on my desktop, the app will automatically pick up the timer where I left off, without any manual synching required

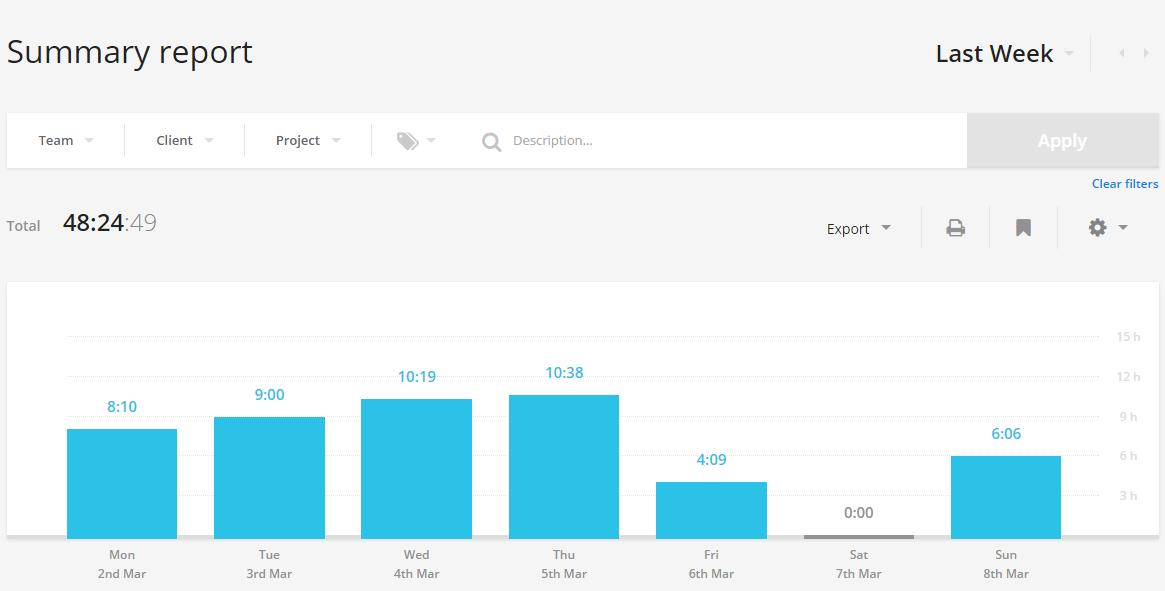
Just one of many reporting options for how much time you spend on what. It will also break down the report by project, client, etc.

Just one of many reporting options for how much time you spend on what. It will also break down the report by project, client, etc.

Squaready for Instagram // Social Media Tips

Today’s blog post is a quick one, but definitely helpful for anyone – even if you’re not a business owner! I remember when I first entered the wide world of Instagram, thinking it was just a cool photo filtering app. I had no idea it was a social network! Times have changed since then :)

I used to see people post non-square pictures all the time and think, “How in the world?!” I love the idea of a whole lot of neat little squares, but sometimes square cropping cuts off faces or even just a part of your picture that you didn’t want to leave out!

Solution? Squaready for Instagram! (A similar app for Android is SquareIt) Squaready allows you to take any picture of any size and make it fit into a square. Just click on the top left icon, add your picture, and use the buttons on the bottom to fit the whole picture into a square without cropping. You can use your fingers to zoom in or out, depending on how much of the picture you want.

Then just tap the top right icon and save it to your album, or upload it straight to Instagram. There’s your beautiful picture, cropped exactly how you want it, with no faces or body parts missing. Beautiful, right? :)

I hope this quick tip was helpful for you, no matter who you are!

Click here for more social media tips!
How to use Squaready for Instagram