Chocolate Peanut Butter Cake // Food

Happy Easter everyone! I hope you had a great day/weekend and enjoyed time spent with family, and great food. Working at a church means a crazy few weeks before Easter, so I have to make sure I can finish whatever I'm cooking in advance. My favorite thing to make, of course, is dessert.

​This isn't the prettiest dessert in the world (at least when you're trying to HURRYUPANDGETITDONENOW), but it is delicious. Reminded me of a giant peanut butter cup, which is never a bad thing. I adapted it a little bit, reducing the peanut butter, making it a smidge healthier, changing it from a 3 layer to a two layer cake, and a couple other little things. I wouldn't recommend making this more than a day before you eat it, or else the cake layers will be too soft, but it can be made in advance and assembled fairly quickly the day of. I also wouldn't recommend melting butter without using a bowl but hey, we all do that at some point...Anyways. Let me know if you love it!

Chocolate Peanut Butter Cake
Adapted from Sky High: Irresistible Triple-Layer Cakes

2 cups all-purpose flour
2 1/2 cups sugar
3/4 cup unsweetened cocoa powder
2 teaspoons baking soda
1 teaspoon salt
1/2 cup canola oil
1/2 cup applesauce
1 cup sour cream
1 1/4 cups water
2 tablespoons white vinegar
1 teaspoon vanilla extract
2 eggs

​1. Preheat oven to 350 degrees F. Spray or butter two 9-inch round cake pans. To make life easier, optionally line the bottom of each pan with a  buttered piece of parchment or waxed paper (I may have skipped this step...)
2. Mix the flour, sugar, cocoa powder, baking soda, and salt in a large bowl. Add the oil, applesauce, and sour cream and blend. Beat in the water a little at a time, then add the vinegar and vanilla. Whisk the eggs in and beat until blended. Divide among the cake pans.
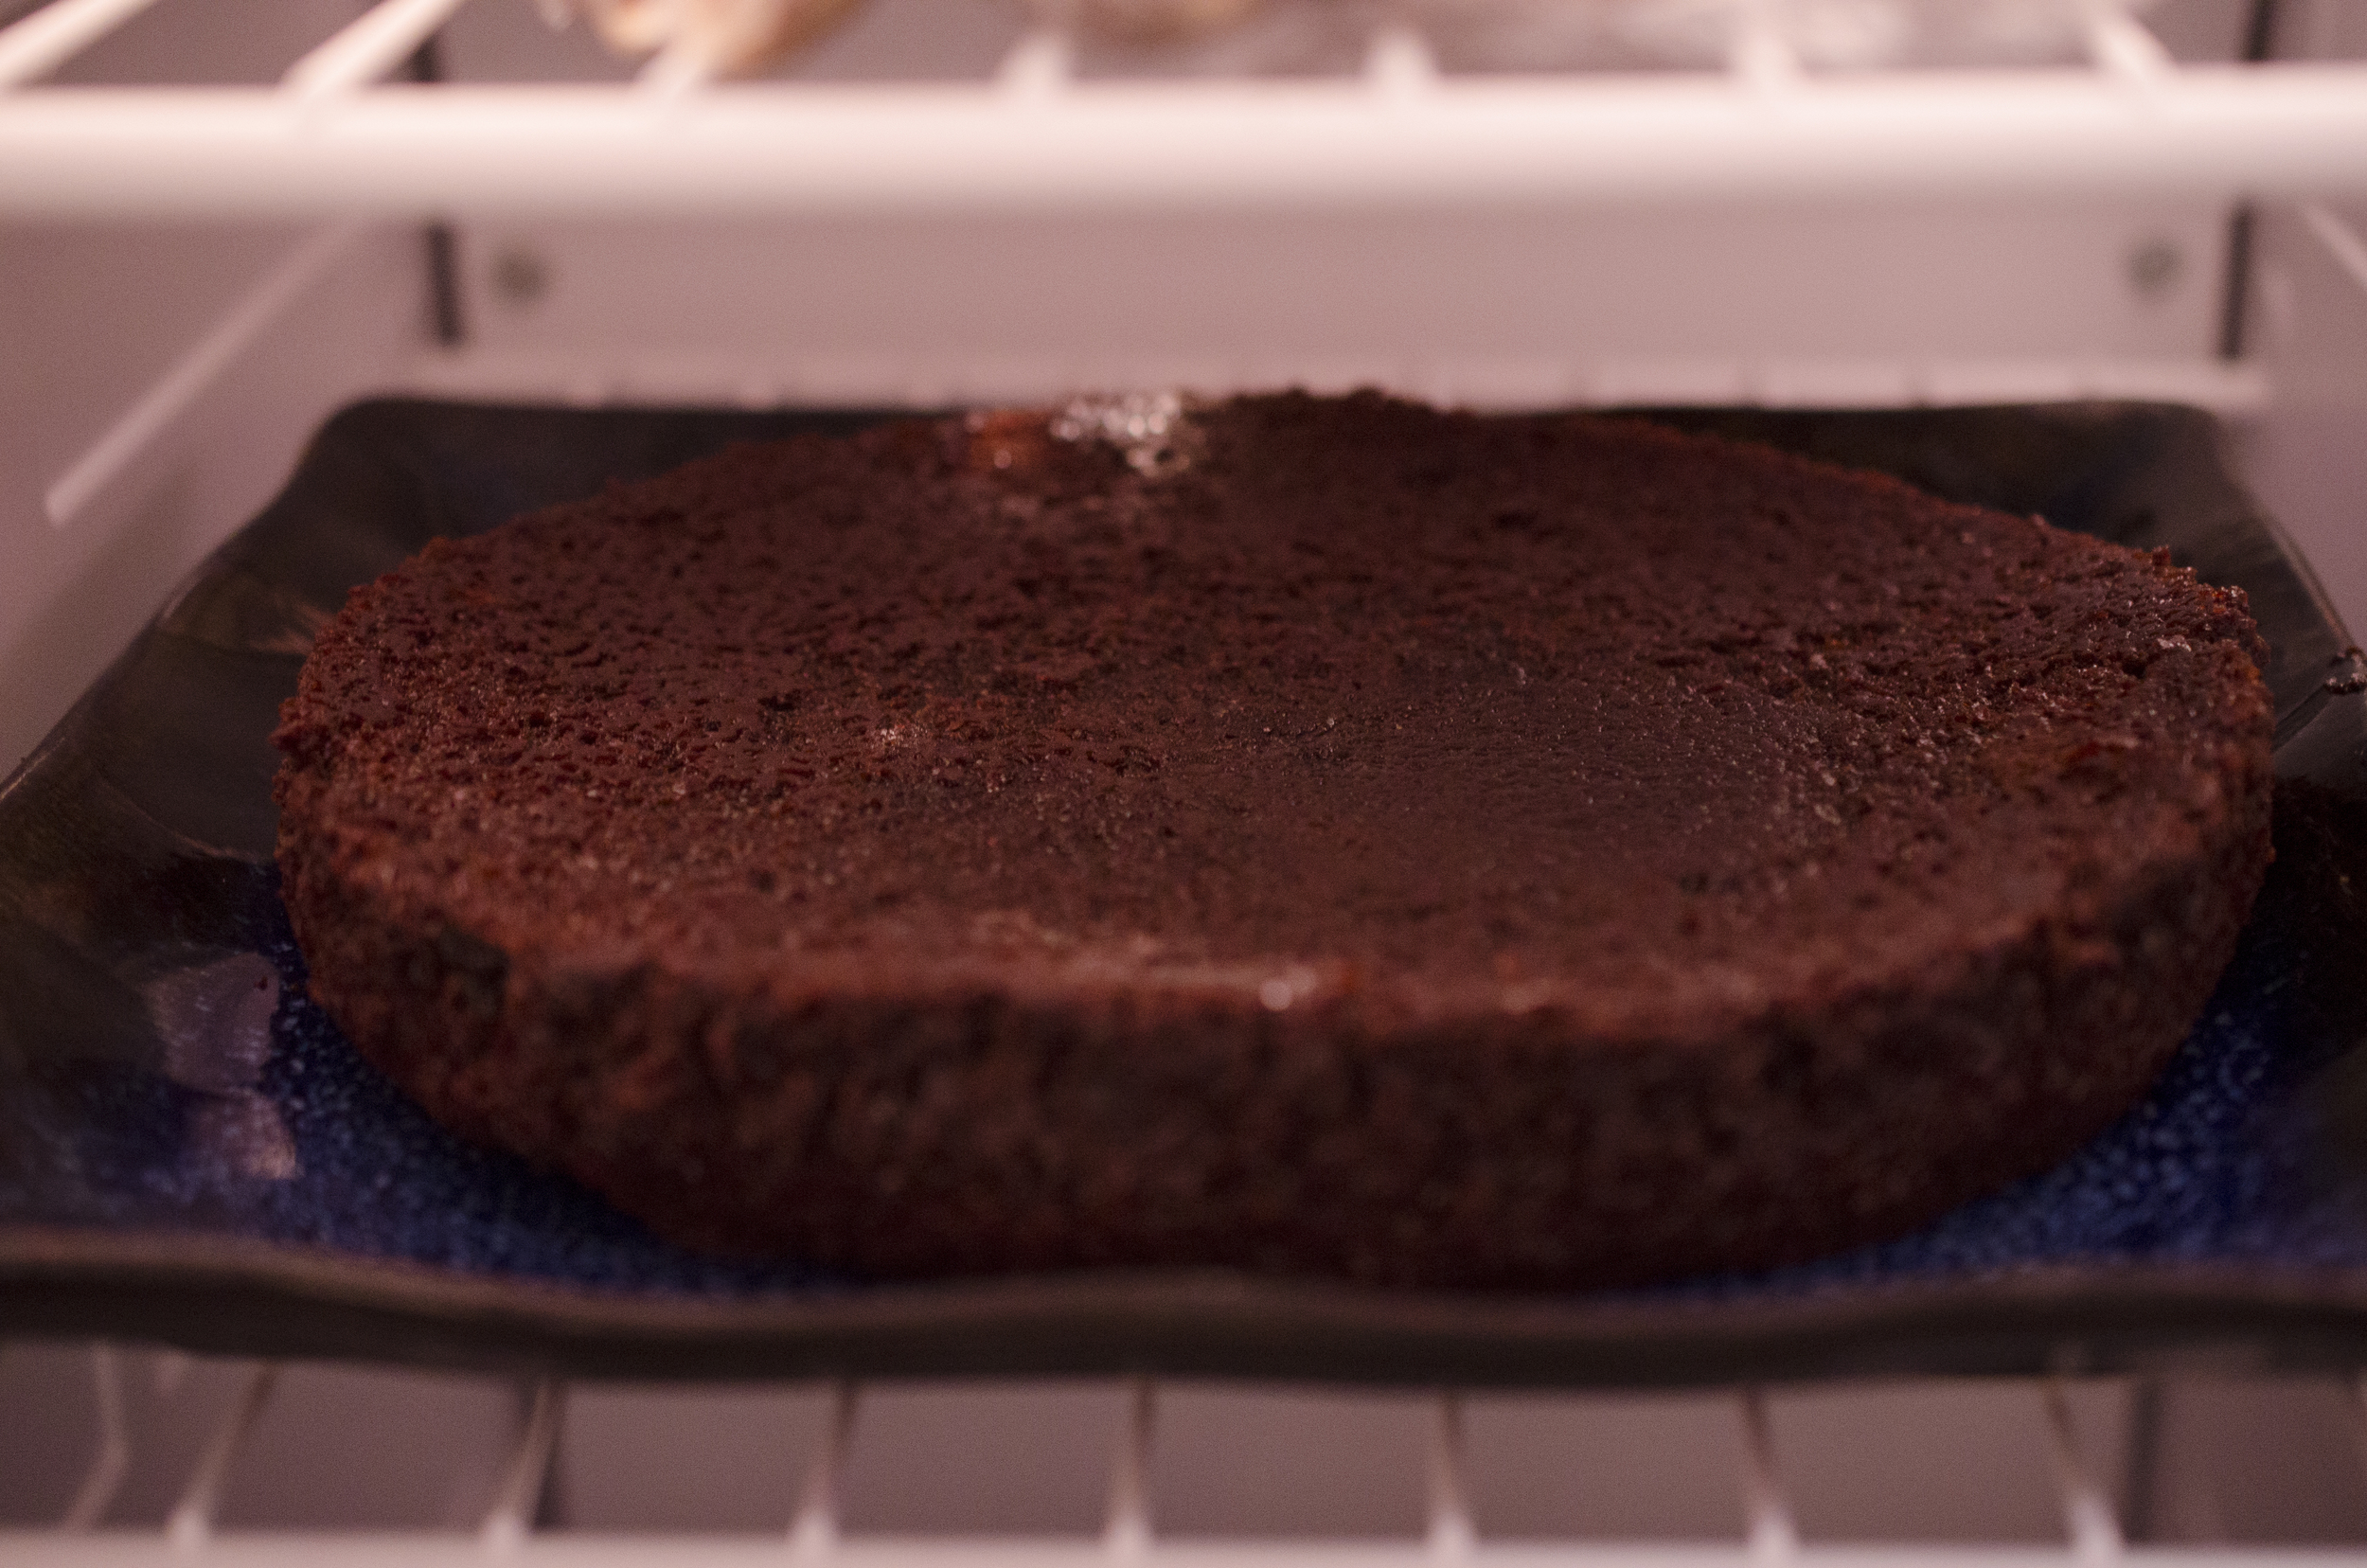
3. Bake for 30-35 minutes, or until a toothpick inserted in the center comes out almost clean. Go ahead and run a knife inside the pan to loosen the cake. After about 20 minutes, invert the pans onto two plates. Stick them in the freezer for at least 30 minutes - otherwise they are too soft to frost.
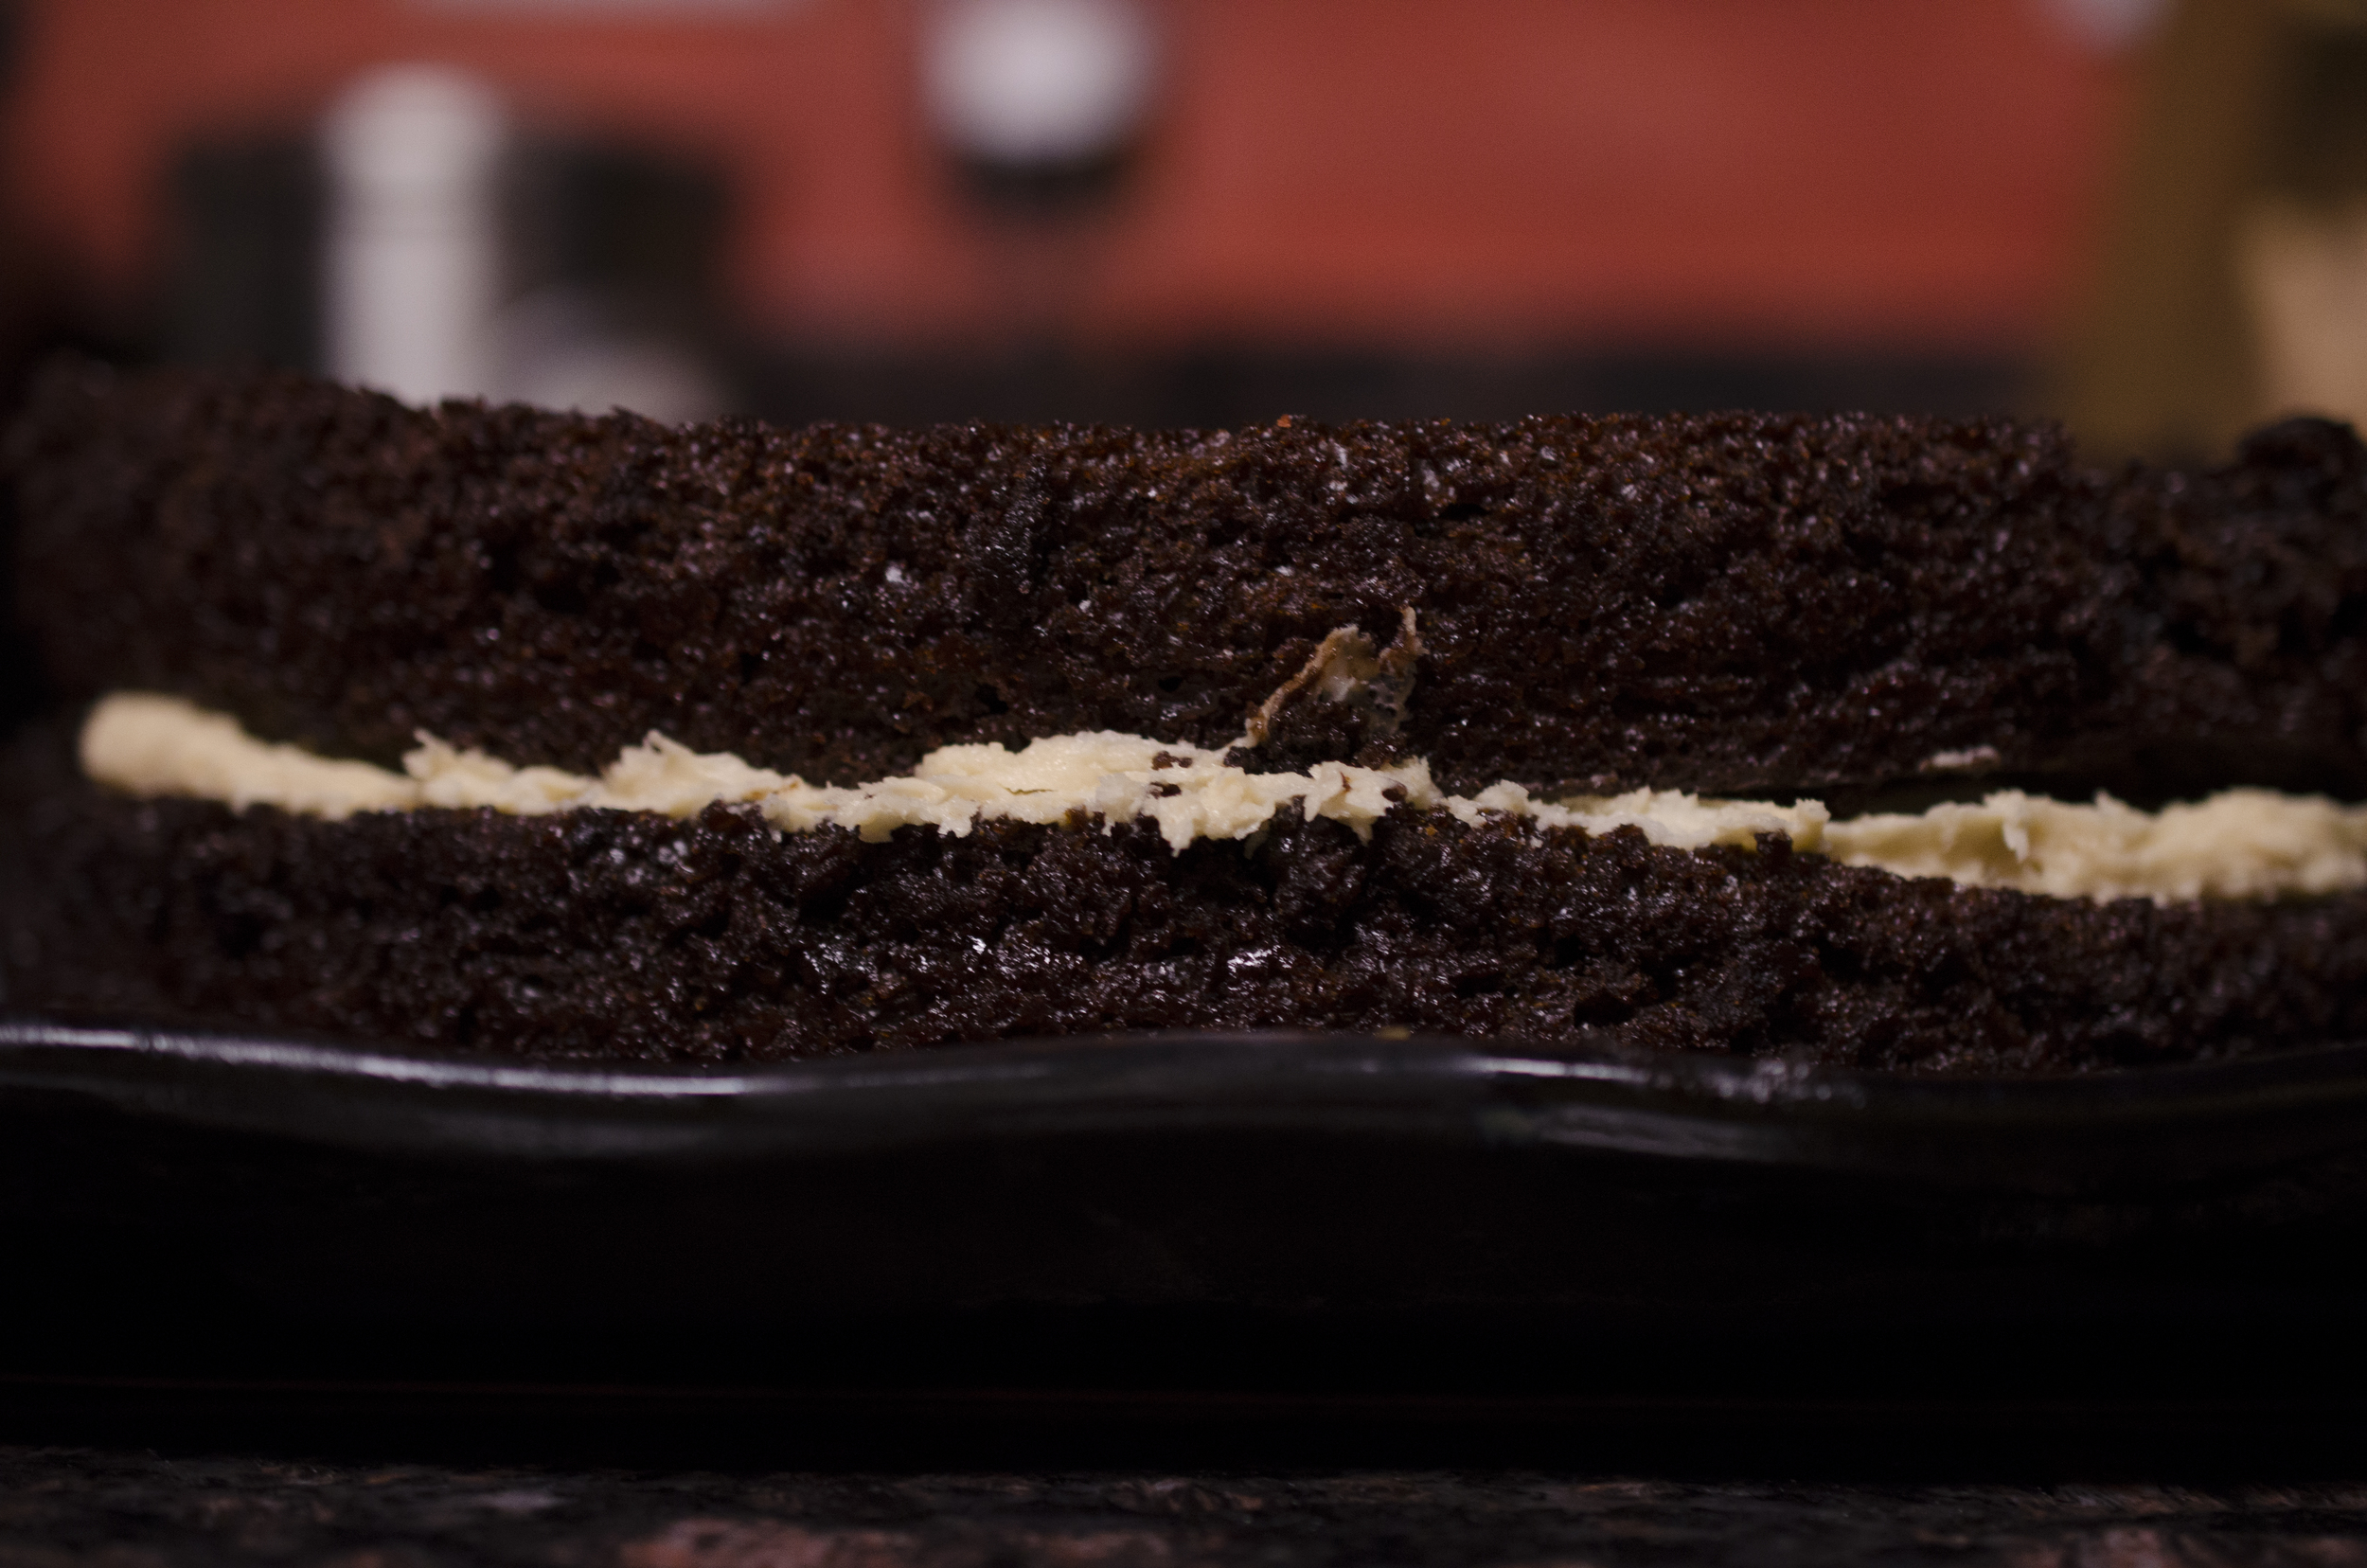
4. Spread about 2/3 cup of the Peanut Butter frosting over the bottom layer, then place the next layer on top. Cover the top and sides of the whole cake with frosting.
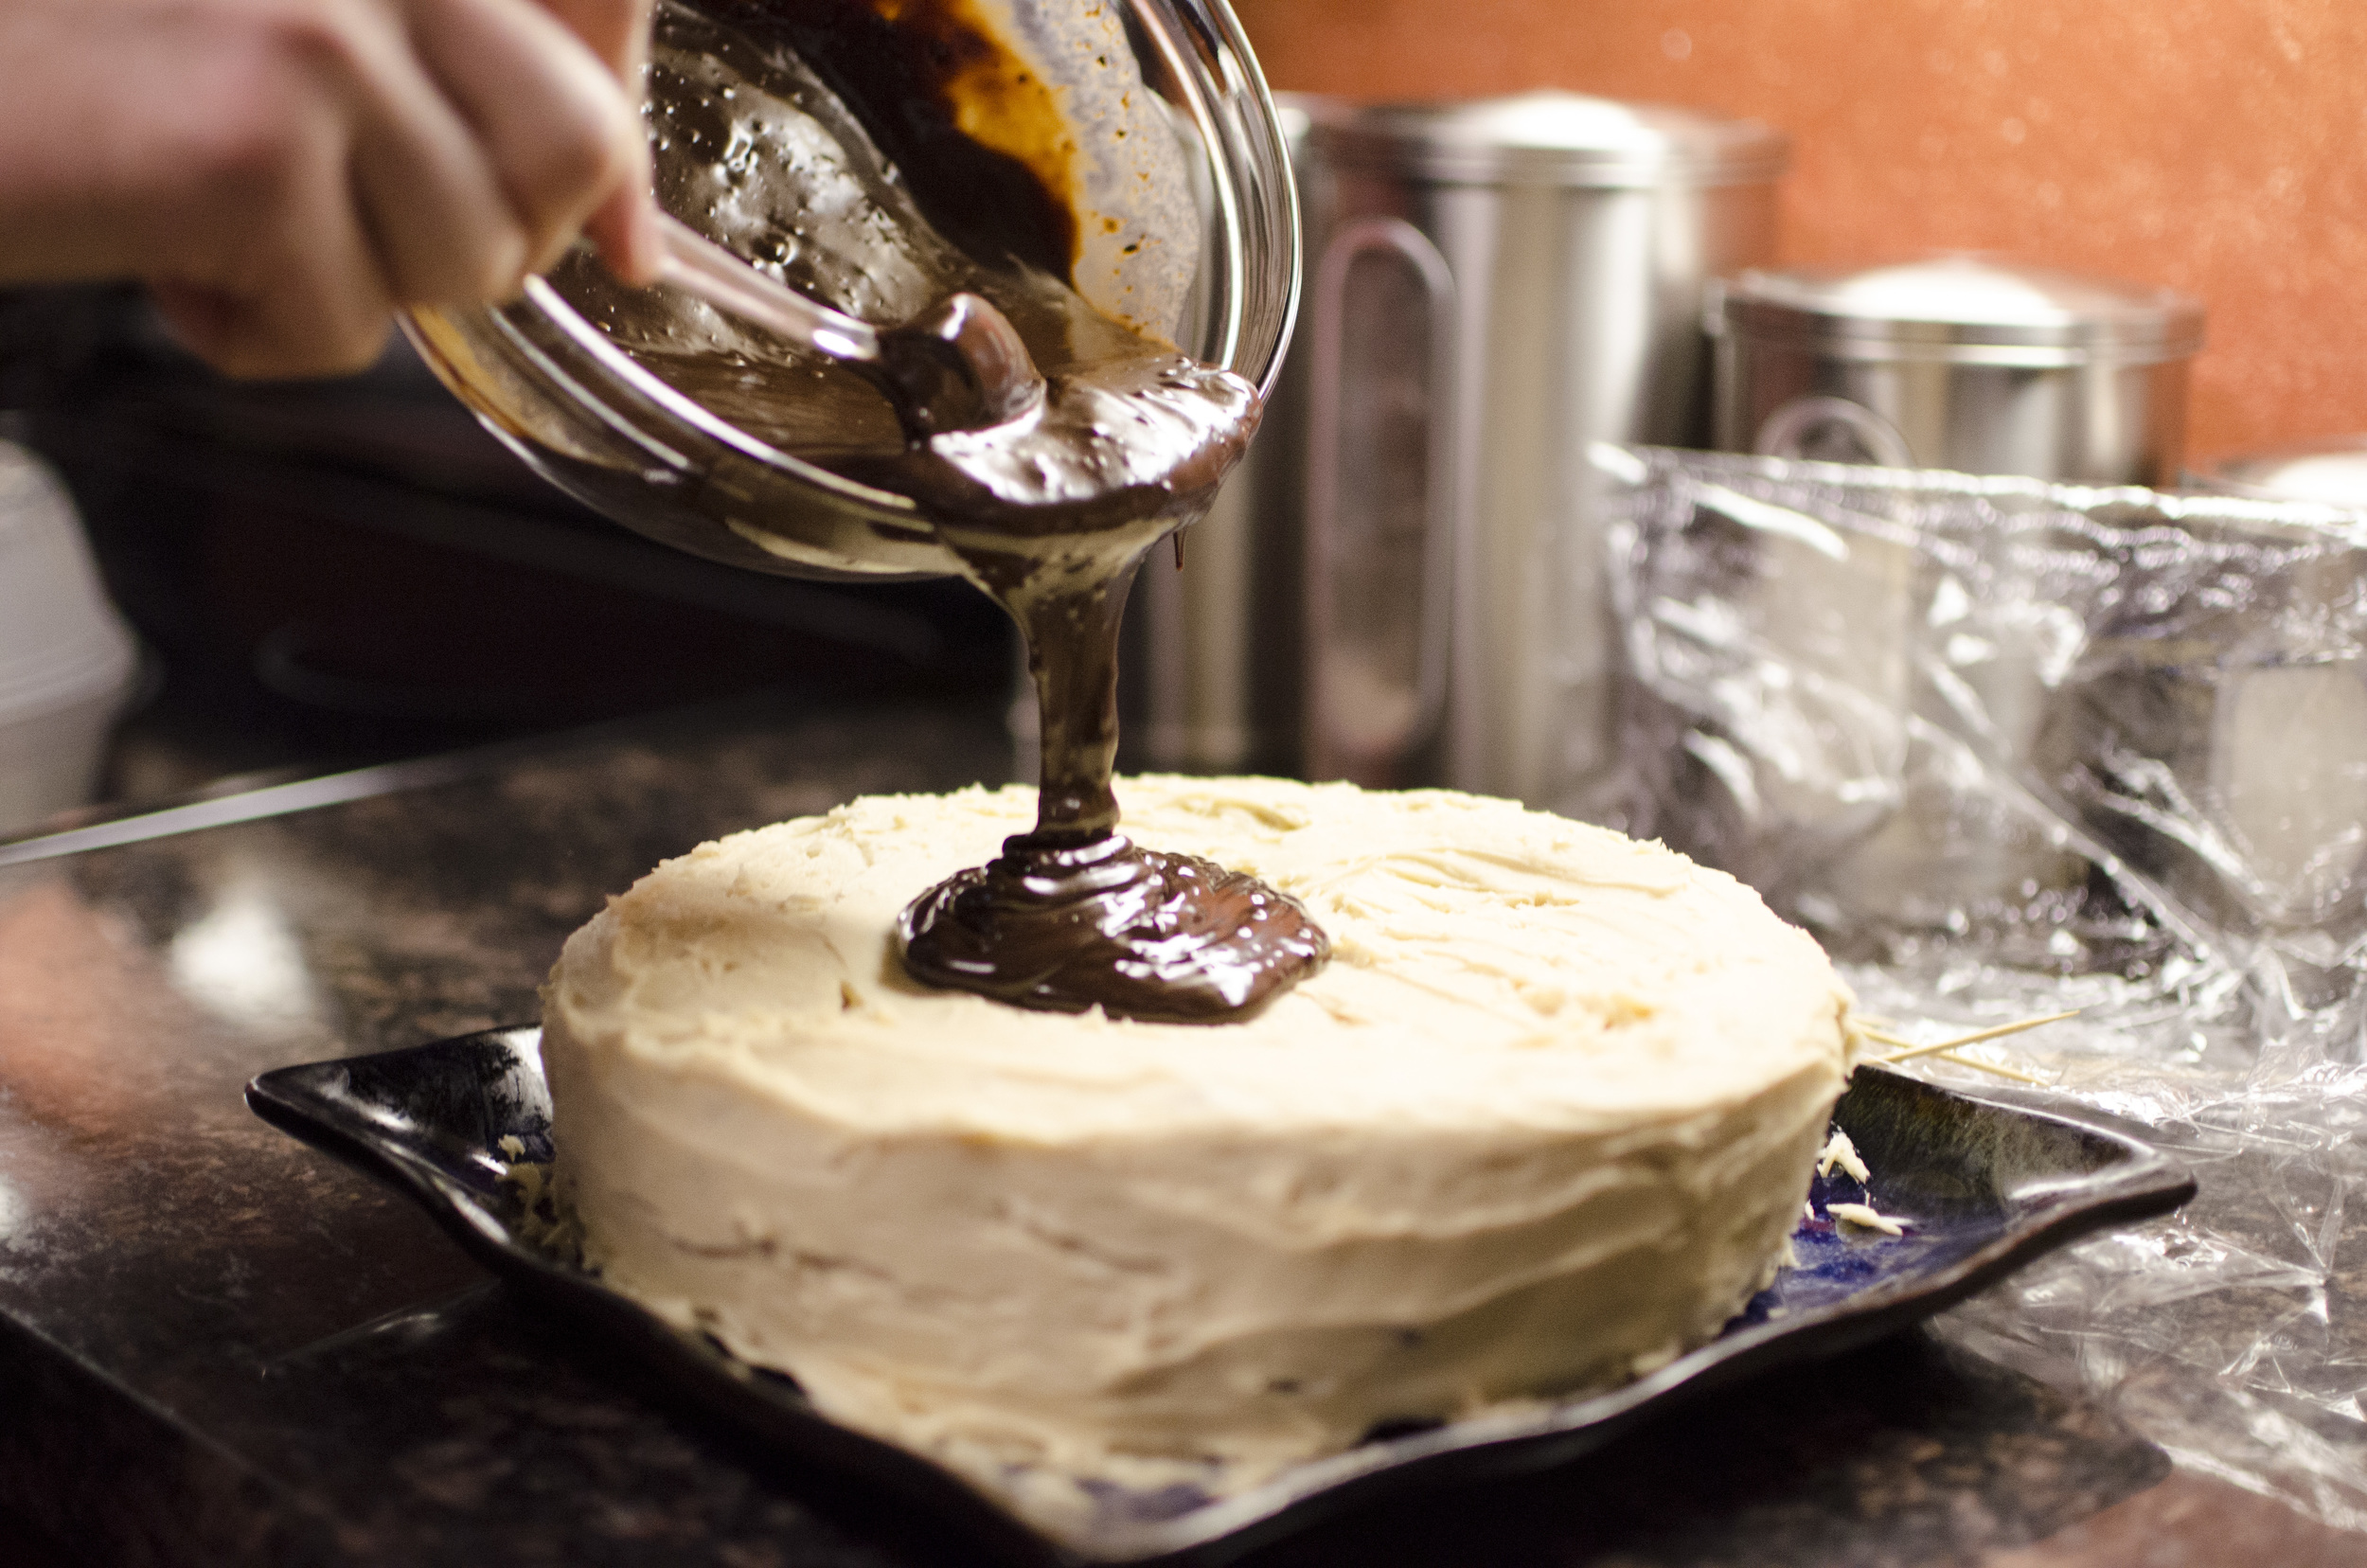
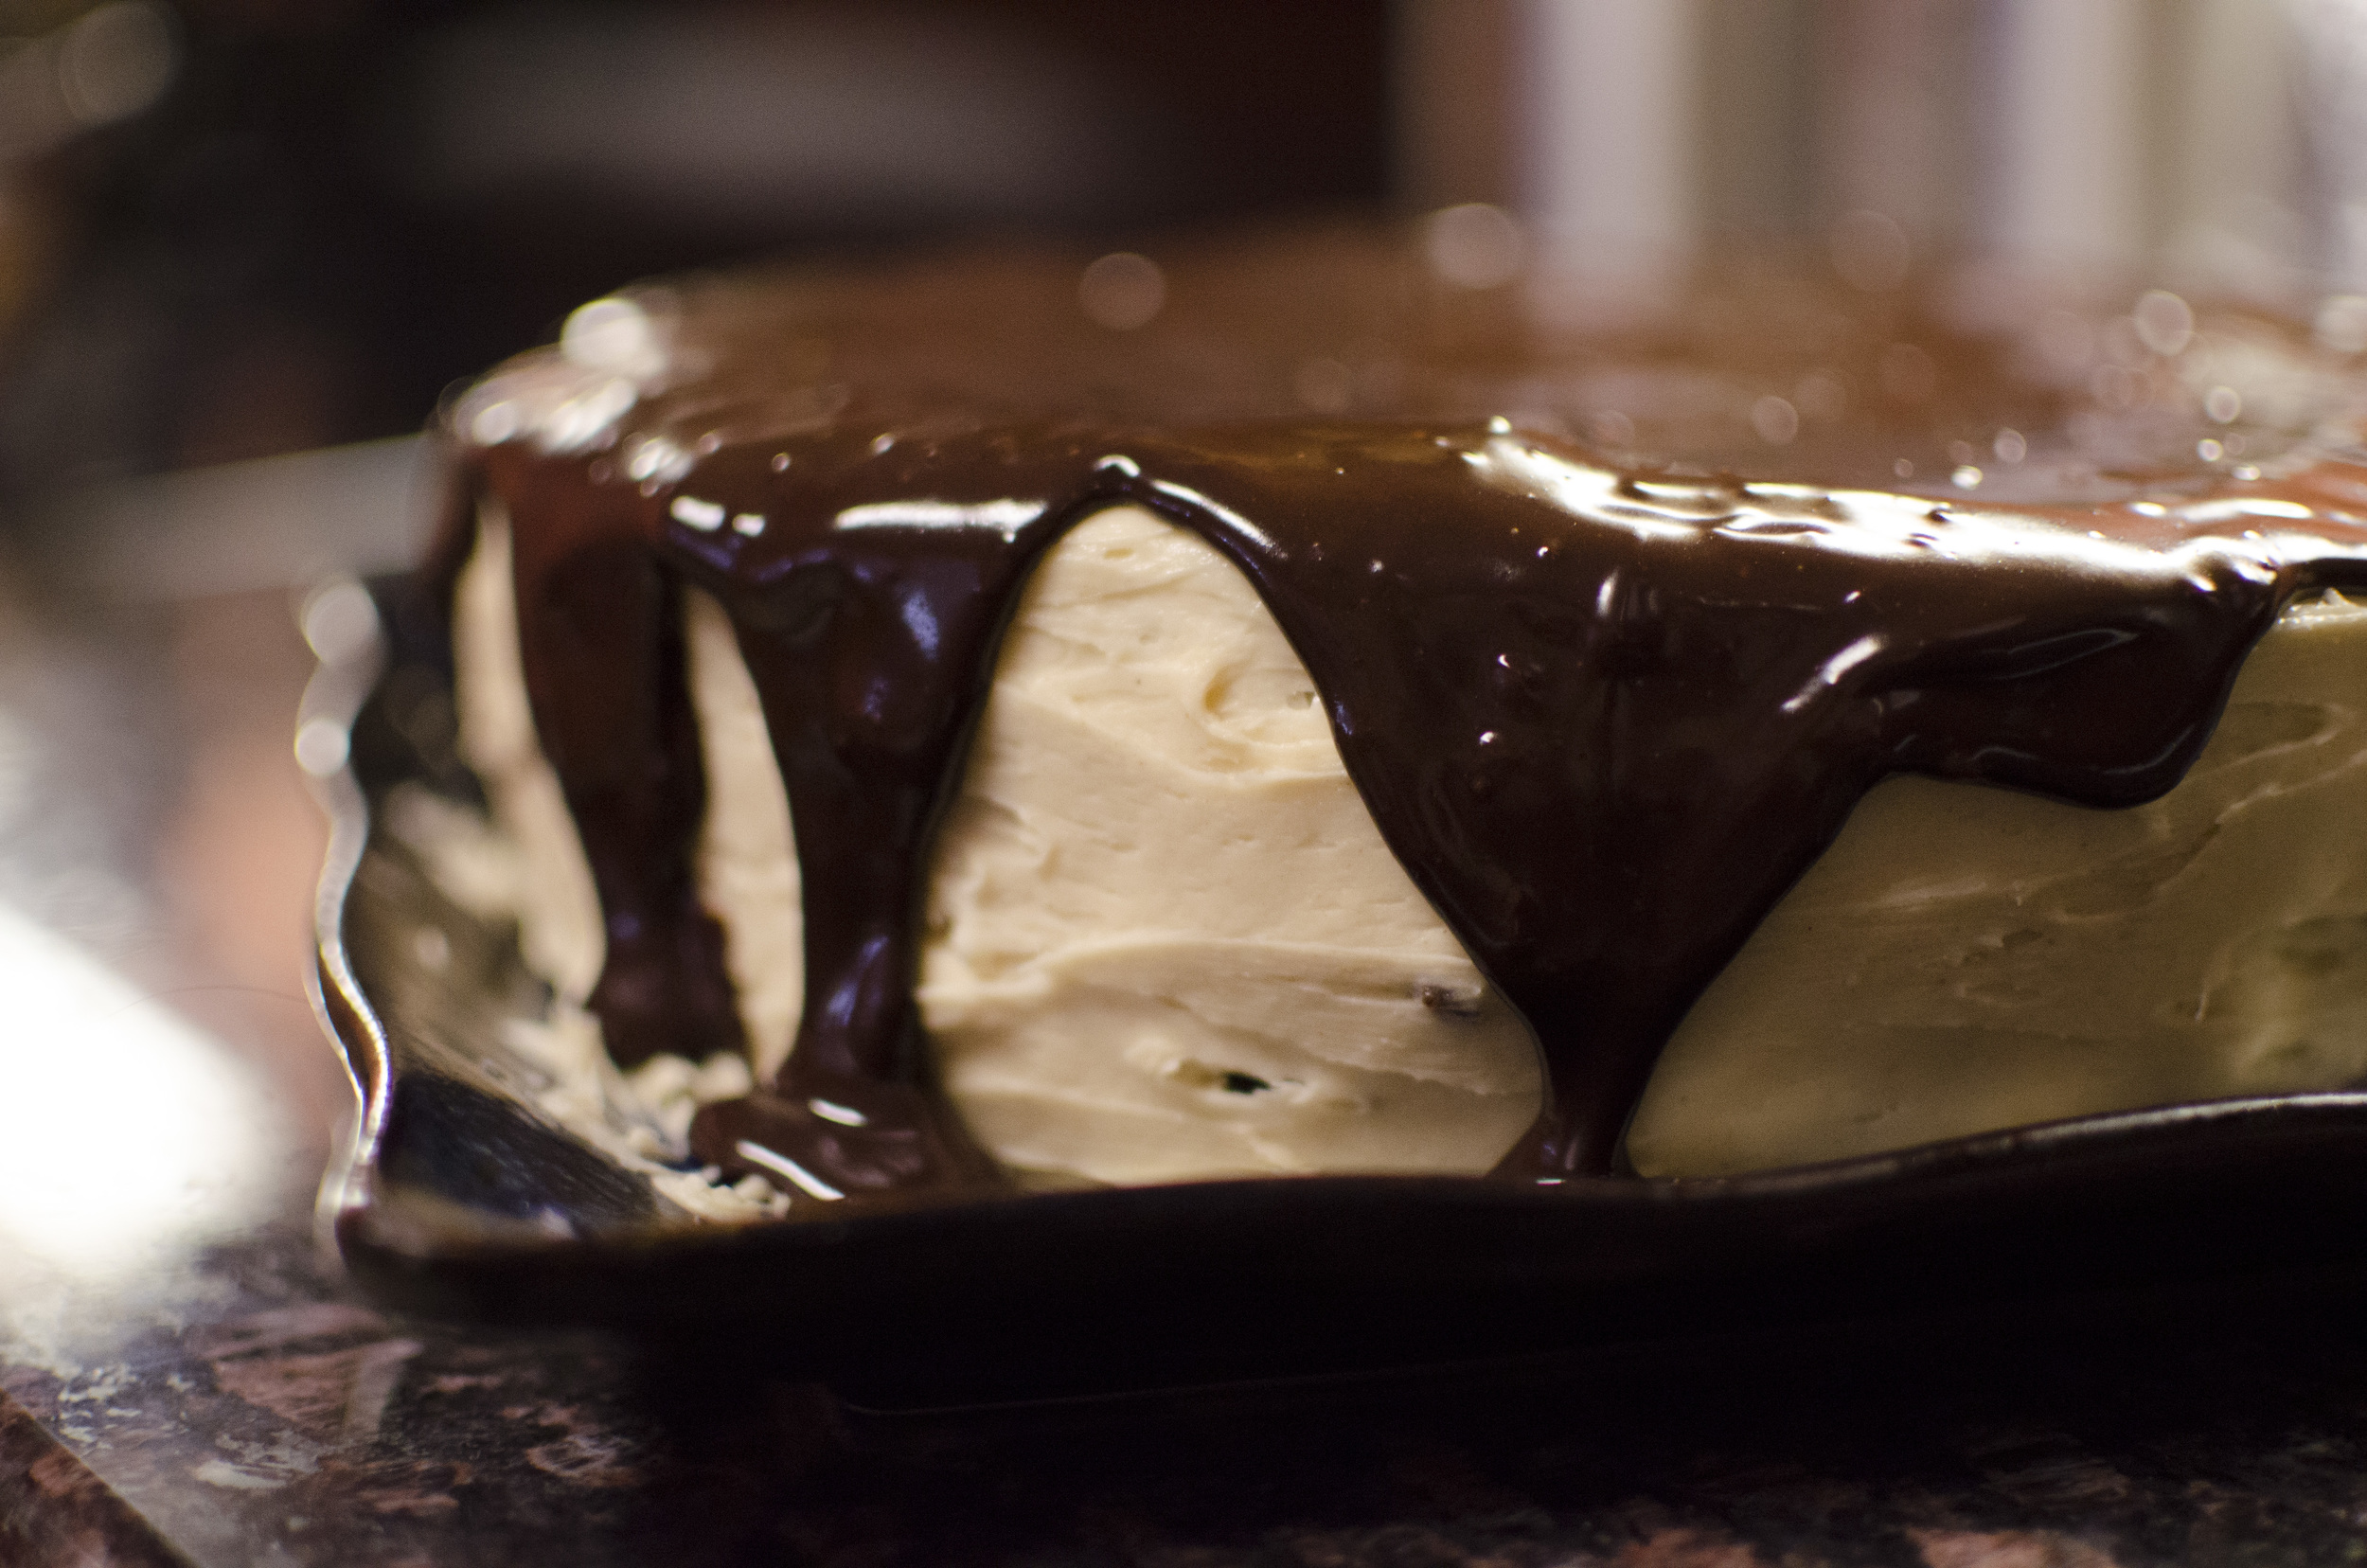
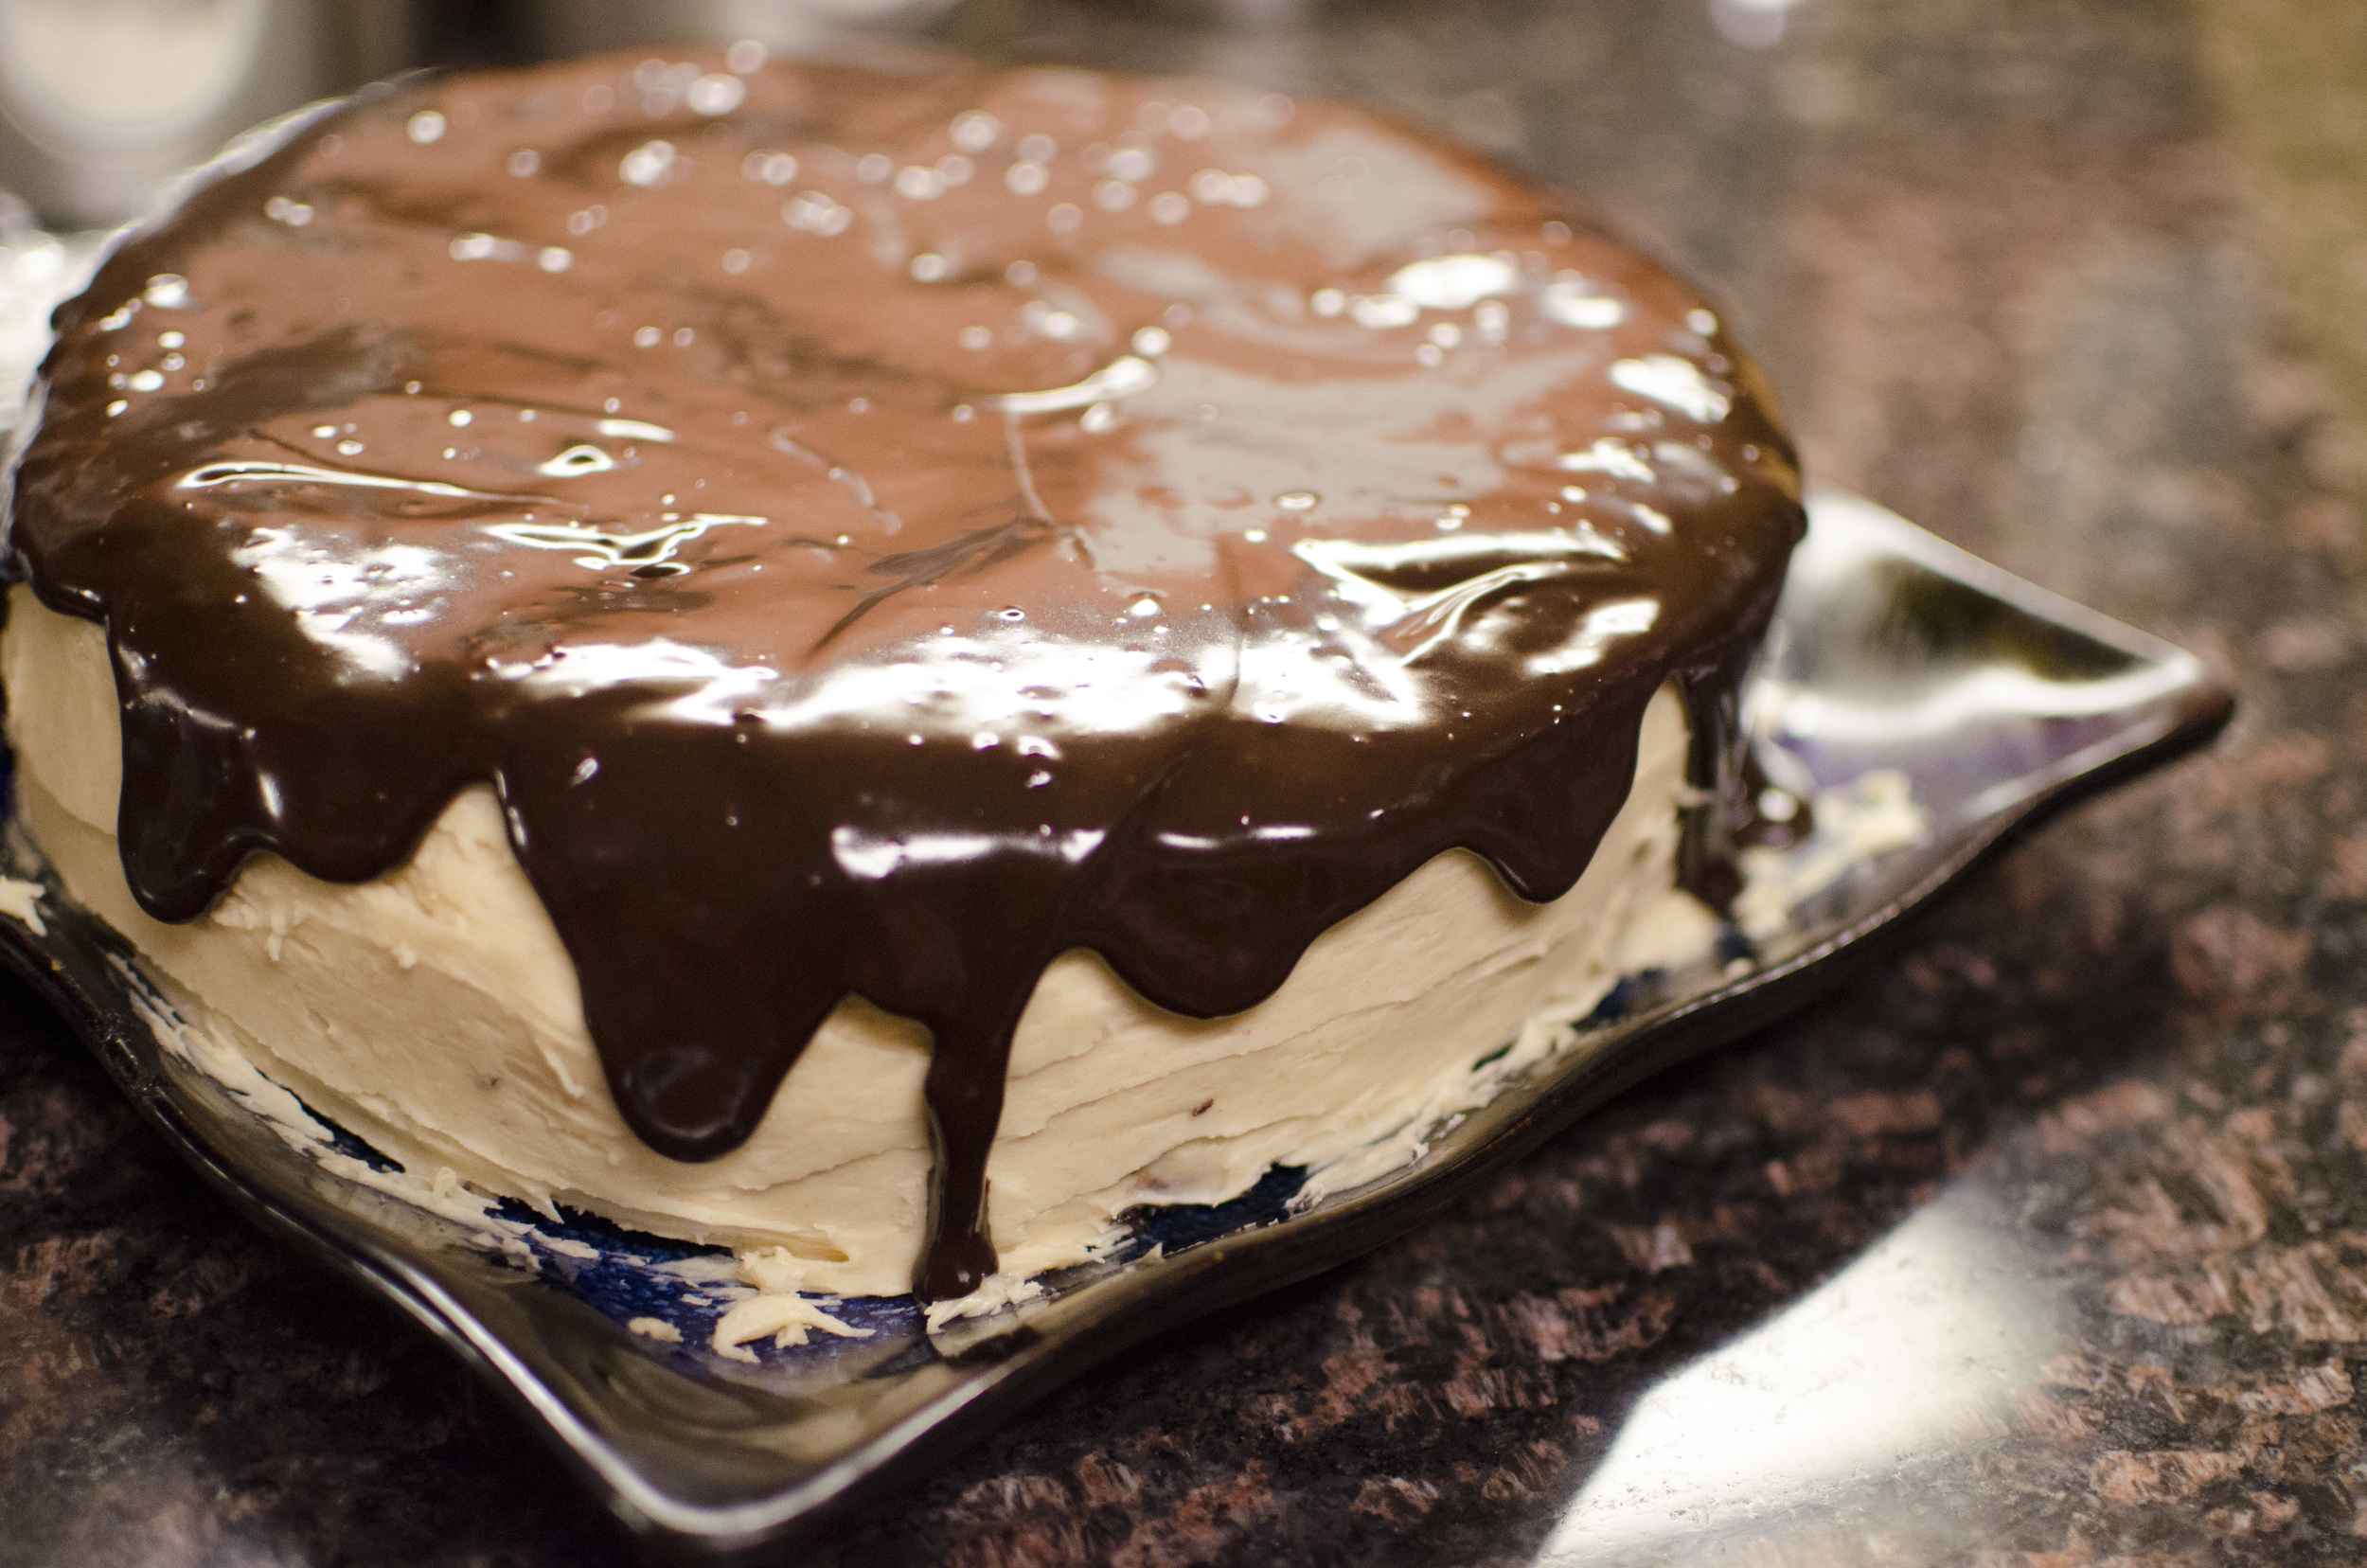
5. After the cake is assembled, pour the chocolate glaze over the cake and spread it evenly until it drips down the sides. Refrigerate for at least 30 minutes so the frosting and glaze both set. Remove the cake about 1 hour before serving.

Peanut Butter Frosting
10 oz cream cheese, room temperature
1 stick (1/2 cup) unsalted butter, room temperature
5 cups confectioners' sugar
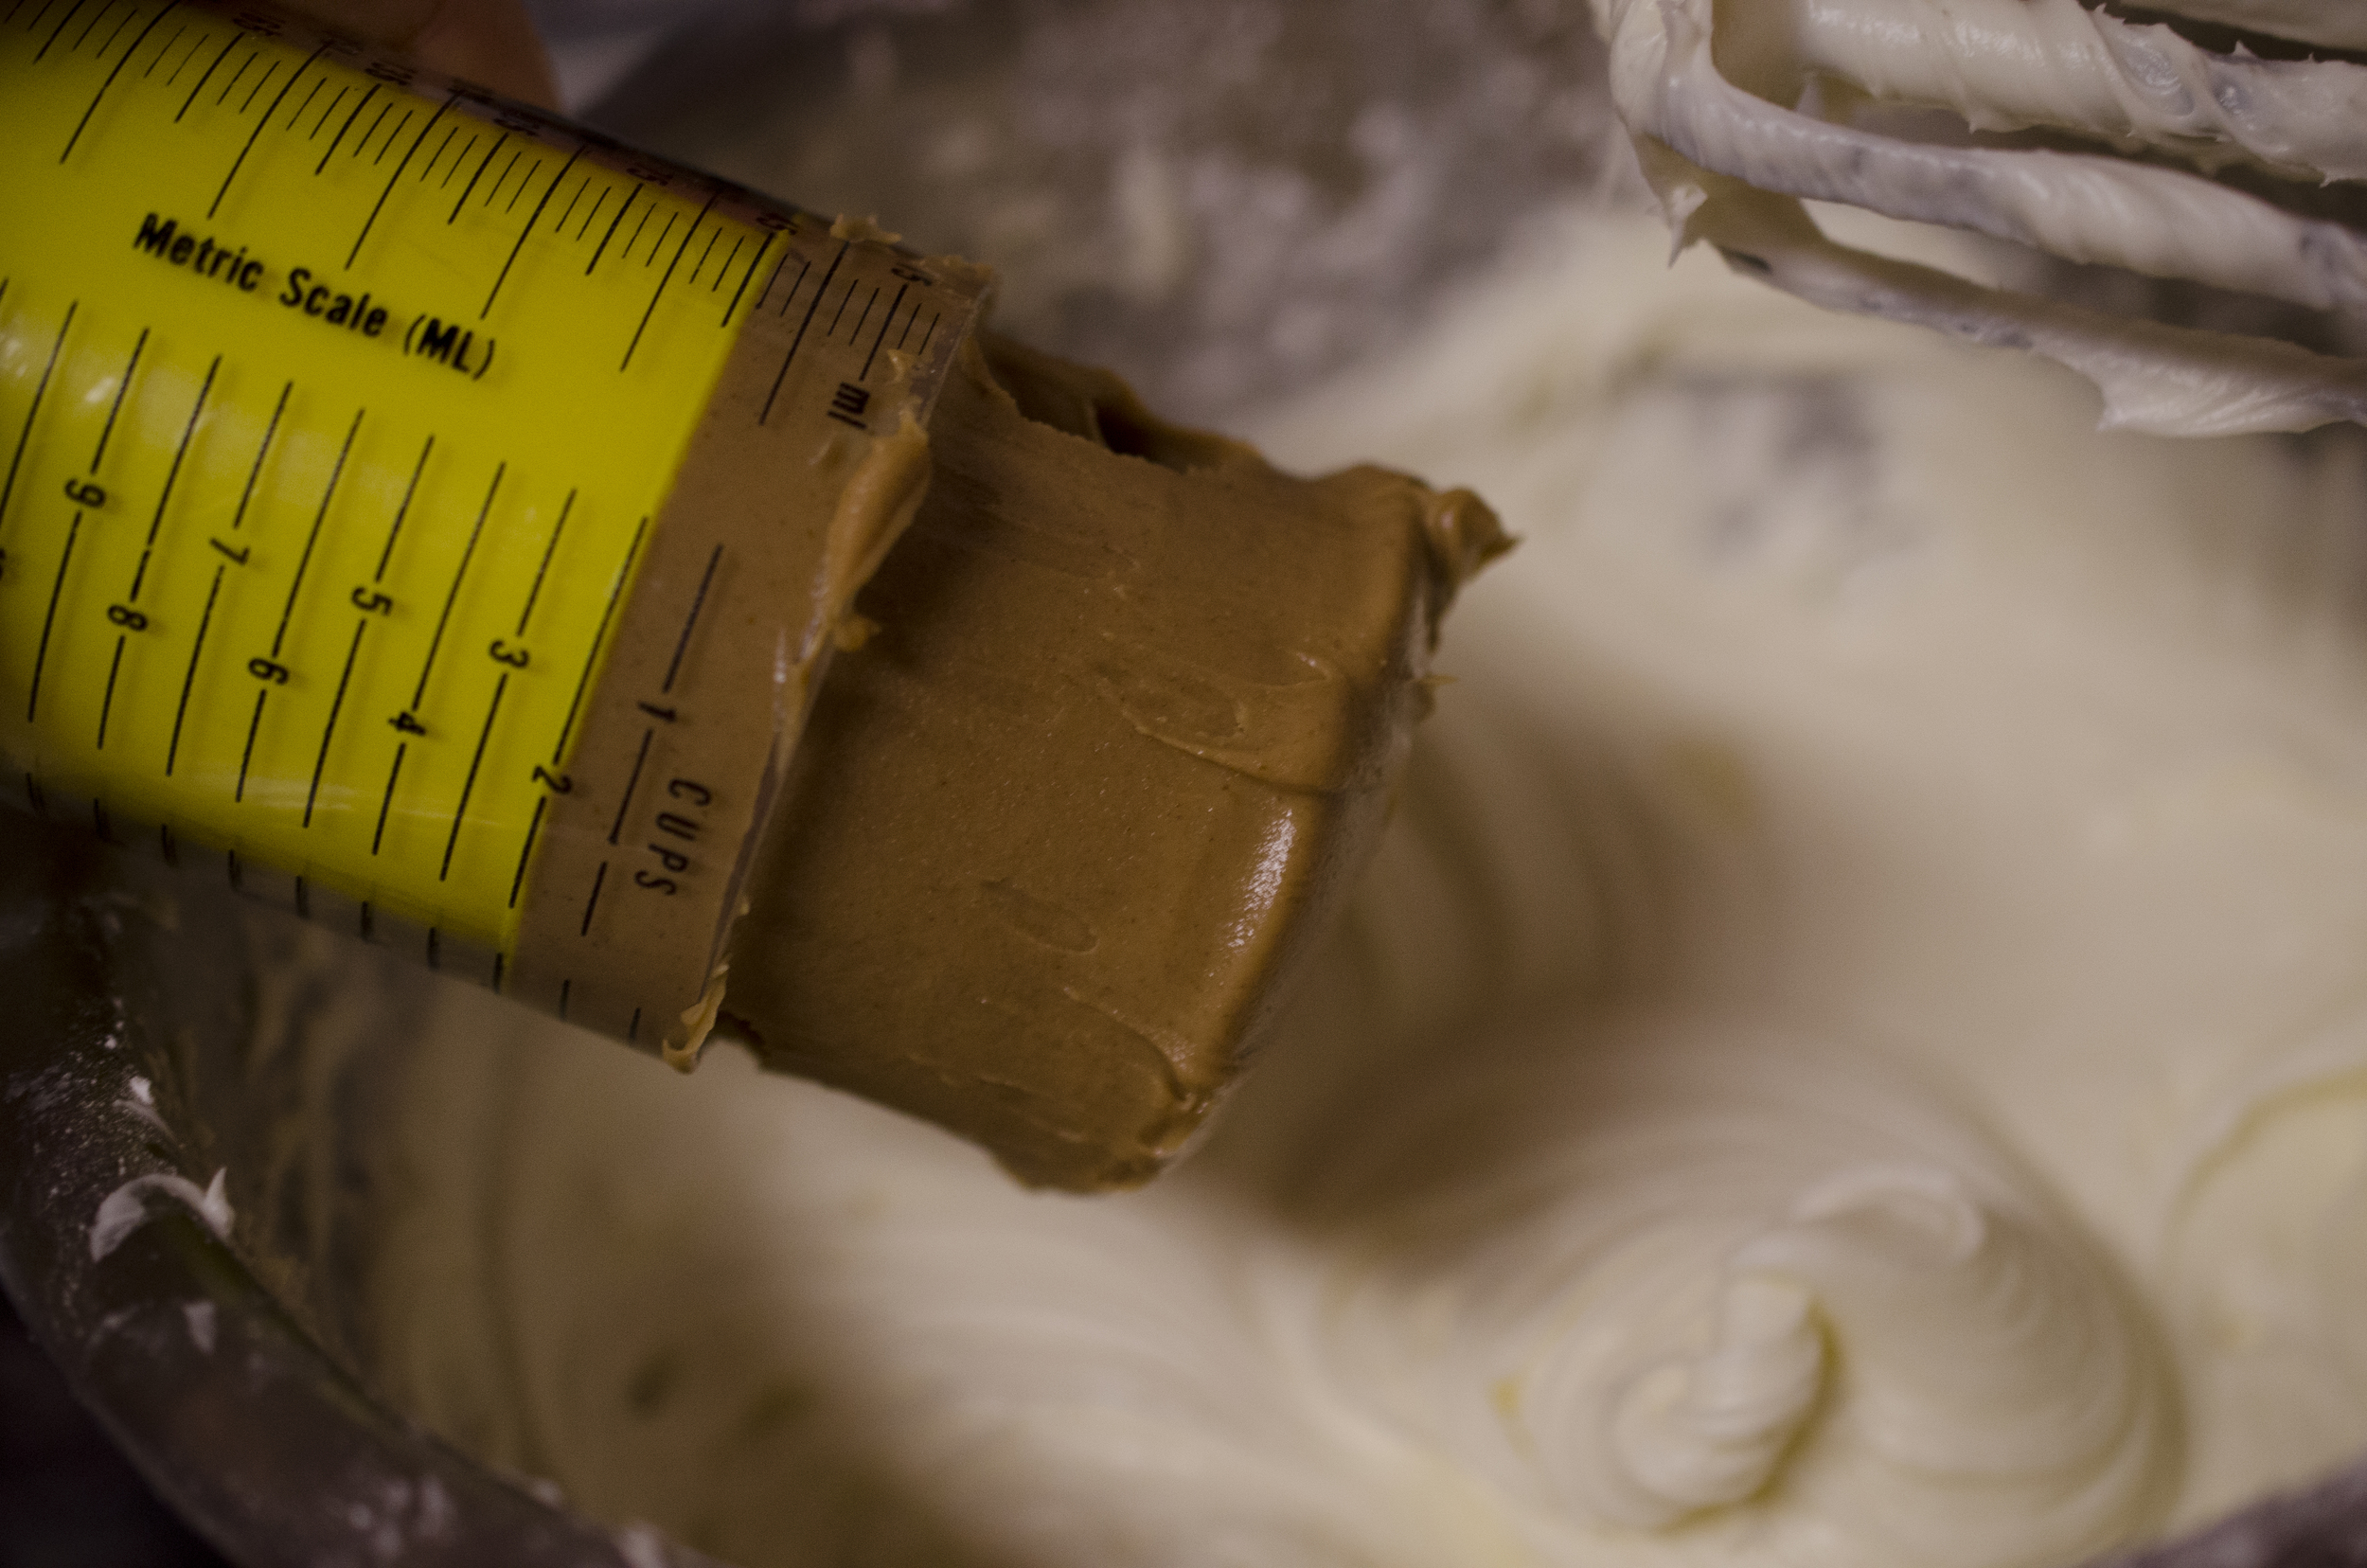
2/3 cup creamy peanut butter

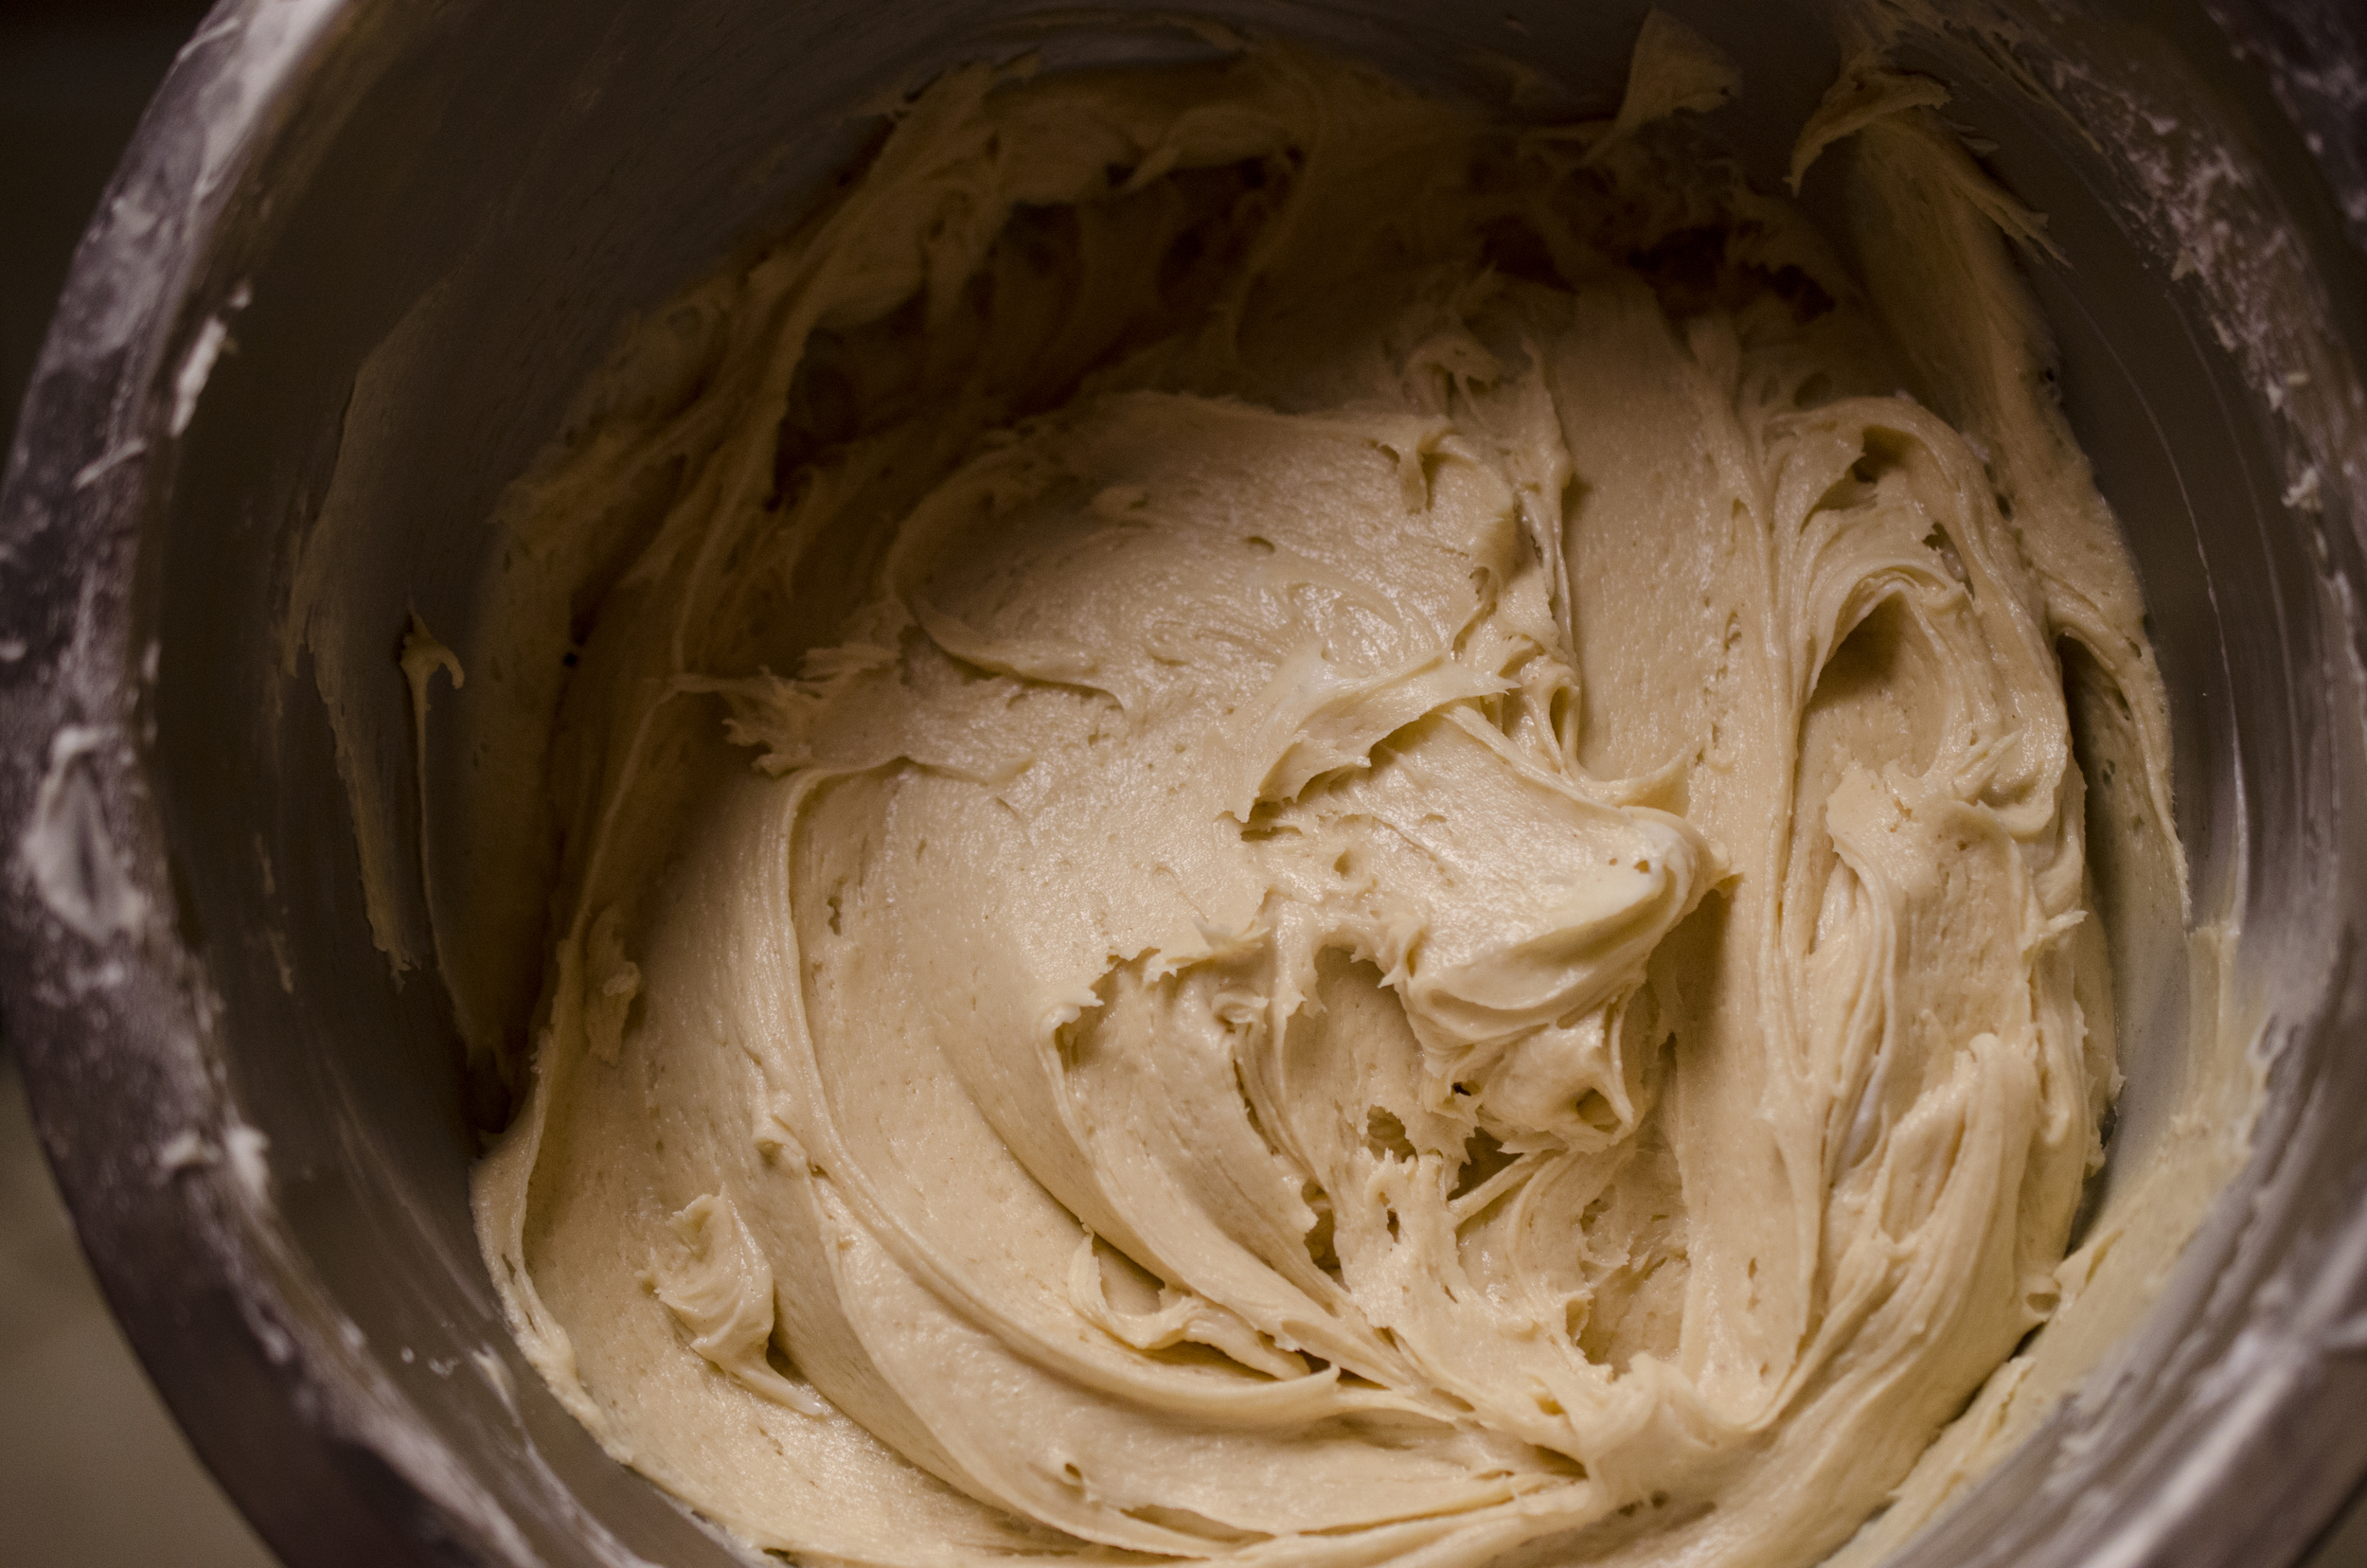
In a large bowl, beat the cream cheese and butter with an electric mixer until fluffy. Add the confectioners' sugar, 1 cup at a time, mixing thoroughly between each addition. Continue to beat on medium for about 3-4 minutes, or until light and fluffy. Add the peanut butter and beat until blended.​

Chocolate Glaze
8 oz semisweet chocolate chips (or coarsely chopped chocolate)
1/2 cup half-and-half

Pour ingredients into a bowl and microwave in 30 second spurts until fully melted. ​Use while still warm.

Wild Rice Gratin // Food

This week has been absolutely freezing. The area saw its first snow and subsequent ice, and unfortunately a lot of bad accidents as well. January surprises me every year - for some reason I expect November and December to be the coldest months of the year, and they never are! I'm always so excited when it's past Christmas, because I'm under the illusion that it'll warm up.

That has never happened. I think I just like to believe that my birthday month, February, is in the middle of summer instead of the middle of winter. As much as I love having a birthday on Valentine's Day, I would never have chosen that month if I knew how cold it would be, every year.

So, as a result, I end up cooking way too many soups and warm, hearty casseroles like this one to pretend like it's a lot warmer out than it is. And that, my friends, makes this month a lot more bearable.

Beginning to caramelize the onions...one of my favorite parts

Beginning to caramelize the onions...one of my favorite parts

_0MS8764_1.jpg
I've cooked with kale no fewer than 3 times this week. It's amazing, and so nutritious

I've cooked with kale no fewer than 3 times this week. It's amazing, and so nutritious

My crazy blend of cheeses. Pass no judgment, people, you'd do the same

My crazy blend of cheeses. Pass no judgment, people, you'd do the same

There they are, in all their caramelized glory. Ok, I'm done talking about onions...for now

There they are, in all their caramelized glory. Ok, I'm done talking about onions...for now


If you're wondering then yes, we inhaled it

If you're wondering then yes, we inhaled it

Wild Rice Gratin
Adapted from The Smitten Kitchen cookbook

5 cups wild rice, cooked (I actually used a blend of wild & brown rices)
2 T butter, divided
1 T olive oil
2 large Vidalia onions, thinly sliced
Salt
Pepper
4 c (approx.) kale leaves, stemmed & ribboned
2 c fine cheeses (I used Asiago & Sharp Cabot Cheddar)
3/4 c chicken broth
1 c breadcrumbs

1. Preheat your oven to 375 degrees. Heat 1 tablespoon butter and the olive oil in a large, ovenproof skillet over medium-low. Add the onion, sprinkling with salt and pepper, and cooking until tender. Stir occasionally. This will take around 30 minutes.
2. Add kale and cook until wilted, approximately 5 minutes. Stir this mixture with the wild rice and 1 cup of your cheeses of choice. I kept it all in the same skillet, so  the hubby (aka dishwasher extraordinaire) would be happy.
3. Pour broth over this mixture, and stir well. Sprinkle the remaining cheese on top, then cover with breadcrumbs that have been tossed with the rest of the butter, salt, and pepper.
4. Bake for 30-35 minutes, or until cheese is melted and mixture is bubbly and you can't wait any longer to dig in

Whole-Wheat Raspberry Ricotta Scones // Food

Before I start talking about the recipe, I first have to talk about where I got it from.  The Smitten Kitchen is probably the best food blog I've ever read. The fantastic thing about Deb's blog, and now her cookbook, is that everything is delicious. It is more on the time-consuming side of recipes for the most part, but it is SO worth it. I'm never disappointed.

So, after reading the blog faithfully, Deb announced that she was releasing a cookbook. I was ecstatic. I ordered the book in February, knowing full well I would have to wait until November to receive it. But oh is it worth it! I've begun to inch my way through the book, making everything from Linguine with Cauliflower Pesto to this delicious breakfast food.

Here is your treat for today. If you are looking for a good Saturday breakfast food, look no further. These scones are rich without being overpowering and have the slight hint of sweetness without tasting more like a cake than a breakfast food. I modified a few ingredients to make it healthier and easier. Enjoy!

THE cookbook. I highly recommend it

THE cookbook. I highly recommend it

All the basics - flour, sugar, baking powder...

All the basics - flour, sugar, baking powder...

Luckily, you can get fresh raspberries even late in the fall. They're pricy, but so worth it

Luckily, you can get fresh raspberries even late in the fall. They're pricy, but so worth it

I mean, it's not TOTALLY healthy, but we can pretend, right?

I mean, it's not TOTALLY healthy, but we can pretend, right?

This picture should help you tremendously. This shows the consistency of the dough after mixed with the butter
_0MS7738.JPG
Ignore that I've already eaten some. My husband had to remind me to take a picture of the finished product before chowing down

Ignore that I've already eaten some. My husband had to remind me to take a picture of the finished product before chowing down

Whole-Wheat Raspberry Ricotta Scones

Adapted from The Smitten Kitchen Cookbook

1 cup whole wheat flour

1 cup all-purpose flour

1 Tablespoon baking powder

3-4 tablespoons sugar (I used 3, my husband could have gone for 4)

1/2 teaspoon salt

5 tablespoons cold butter

1 cup (6 oz) raspberries (please do not use frozen)

3/4 cup part-skim ricotta

1/4 cup 2% or whole milk

Preheat oven to 425 degrees. Line a baking sheet with greased aluminum foil.

In a large bowl, stir together flours, baking powder, sugar, and salt. Cut the butter into small pieces with a knife, and work it into the flour mixture with your hands until the dough has the texture of coarse meal (see picture above)*. Quarter the raspberries and stir them into the dough.

Stir in the ricotta and milk with a spatula. Knead the dough with your hands in the bowl until it is a big lump of dough. The squishier the raspberries are, the better. In my opinion.

Flour your counter or a cutting board, and place the dough on it. Pat the dough down until it is about 1-inch thick. Cut the dough into 9 squares (or do like I did and just cut it into however big of a scone you want). Transfer the squares to your baking sheet and bake for around 15 minutes. They should be slightly golden. Cool them for about 5 minutes while eating. Enjoy with a warm cup of tea.

*If you have a pastry blender, which I do not, you can use it to cut up the butter and the raspberries, rather than doing it by hand.